What the dashboard is and when to use it
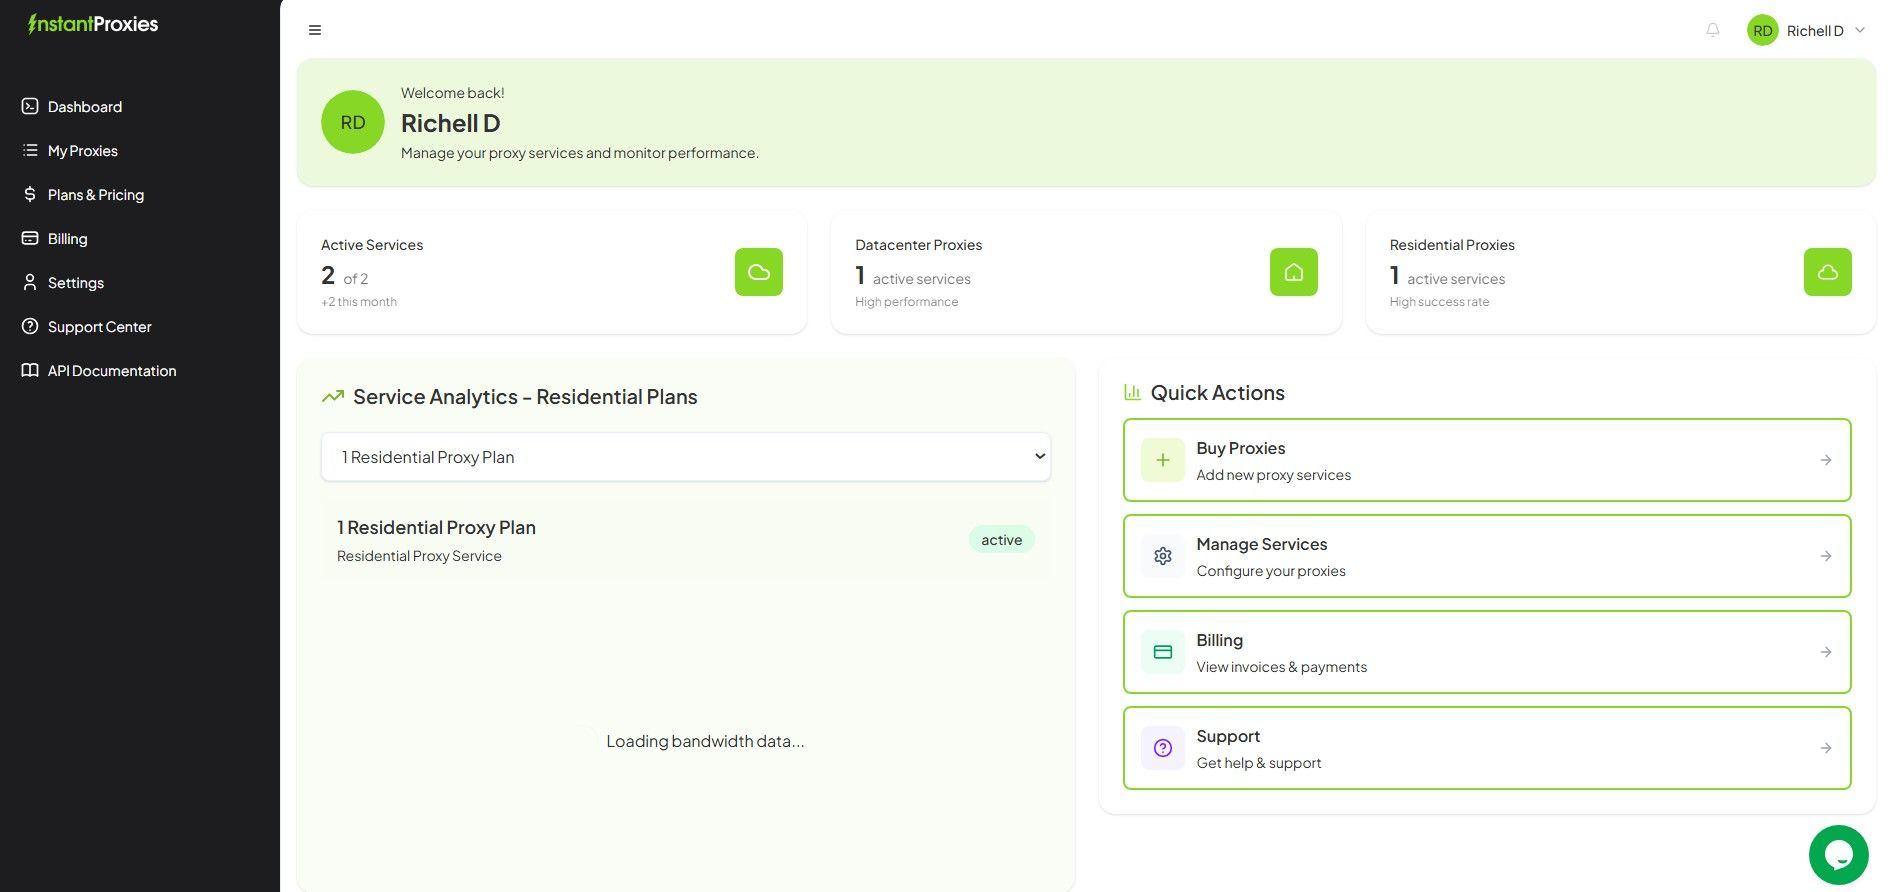
The InstantProxies dashboard is your primary workspace for managing your account and proxy services in one place. From here, you can access your assigned proxies, configure authentication, review your services, and navigate billing, settings, and support tools.
You should use the dashboard whenever you need to retrieve proxy details, adjust configurations, check your active services, or ensure everything is properly set up before using proxies in your applications or workflows.
Understanding the platform
InstantProxies uses a unified interface where both account management and proxy operations are handled in one place. This means you don’t need to switch between separate systems to manage your services.
-
Dashboard / Client Area – A single interface where you can manage your proxies, view assigned IPs, configure authentication, access billing, update account settings, and contact support
-
Public Tools – External tools or guides used for testing proxies and integrating them into your applications
Everything you need to manage and use your proxies is accessible directly from your dashboard.
What you can do in the dashboard
The dashboard supports the key actions needed to manage both your proxy services and your account:
- Viewing your assigned proxies and endpoints
- Managing authentication methods (IP or credentials)
- Testing proxies to confirm connectivity
- Checking active packages and service details
- Monitoring usage and configuration readiness
- Reviewing billing information and transaction history
- Accessing account settings and support tools
These functions allow you to manage everything from setup to ongoing usage in one place.
Typical first-time workflow
When accessing your dashboard for the first time, a simple workflow can help you get started quickly:
- Sign in to your InstantProxies account
- Locate your active service or package
- Review your package details and status
- View your assigned proxy list
- Choose your preferred authentication method
- Test at least one proxy endpoint
- Confirm your setup before using proxies in your application or workflow
This process establishes a working baseline before integrating proxies into your application or automation workflow.
Core dashboard sections
Understanding the main sections of the dashboard will help you navigate more efficiently:
-
Active Services / Packages
- View your current subscriptions, service status, and plan details
-
Assigned Proxies (My Proxies)
- Access your proxy list, including IPs, ports, and usage examples
-
Authentication Settings
- Configure how your proxies are accessed (IP-based or credentials)
-
Test Tools
- Verify connectivity and confirm your proxies are working as expected
-
Billing
- Review subscriptions, invoices, and transaction history
-
Settings
- Manage account details, security preferences, and configurations
-
Support Center
- Submit tickets or start a live chat for assistance
-
API Documentation
- Access technical resources for managing proxies programmatically
Each section is designed to give you control over a specific part of your setup.
Common mistakes
Avoiding these common issues can help prevent setup delays:
- Assuming dashboard configuration alone guarantees successful runtime usage
- Testing proxies from the wrong environment or network
- Changing multiple settings before confirming a working baseline
- Overlooking service status or package limitations
- Ignoring billing or account issues that may affect access
Taking a step-by-step approach helps isolate problems and ensures a more reliable setup.
Next step
After getting familiar with the dashboard, move into the setup and testing workflow. Start with Quickstart to understand the initial setup process, then continue to First Request with cURL to make your first proxy request. Once configured, use Verify Your Connection to confirm that your proxies are working correctly in your environment.