Firefox offers built-in proxy configuration options, allowing you to set up a proxy directly within the browser. This means you don’t need to modify your system’s network settings—only Firefox will use the proxy connection. It’s a convenient option for private browsing, testing, or accessing region-specific content.
Firefox manual proxy setup
Before starting, make sure your current environment is authorized if your setup uses IP allowlisting. If needed, start with Authorizing Your IP Address.
-
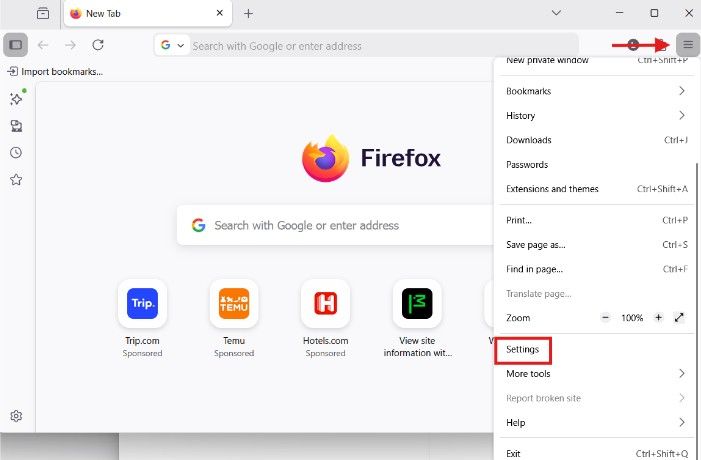
Launch Firefox and click the menu icon (☰), then go to Settings.
-
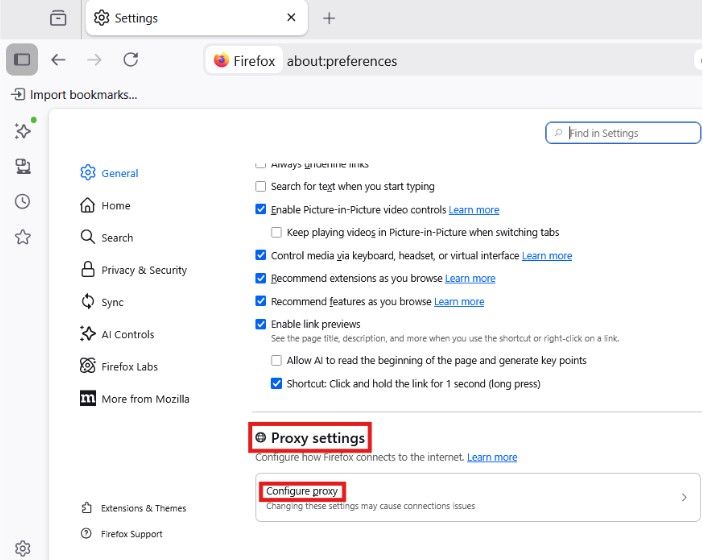
Scroll down until you find Proxy settings and click Configure proxy.
-
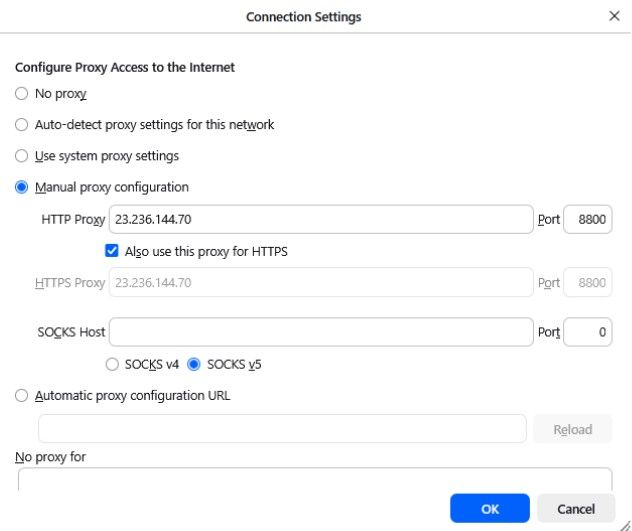
Choose Manual proxy configuration.
-
Enter your proxy details in the HTTP Proxy field.
(Optional) Enable Use this proxy server for all protocols if you want all traffic routed through the proxy.
-
Click OK to save the configuration. Firefox will now route your connection through your InstantProxies IP.
Verify proxy connection in Firefox
After setup, you should confirm that the proxy is working correctly:
-
Open a new tab in Firefox.
-
Visit an IP-checking website such as:
-
Compare the displayed IP address with:
- Your original (real) IP address
- Your InstantProxies IP
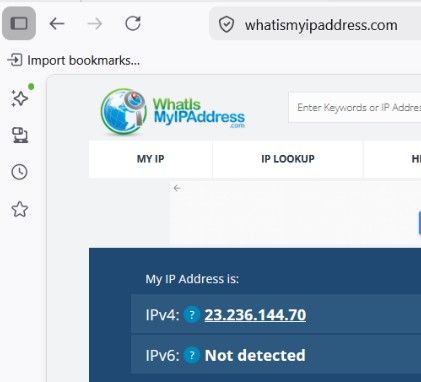
If the IP shown is the same as your InstantProxies IP, then the configuration is successful.
Important note
When using rotating proxy setups, the visible IP may change depending on how the service and session behavior are configured. If the IP shown is different from a previous check, confirm whether that matches the proxy behavior you intended to use.
Next step
After Firefox is configured, continue to Verify Your Connection to confirm that traffic is routing through the proxy path as expected. If you want the broader browser setup guides, continue to Platform and Browser Setup.